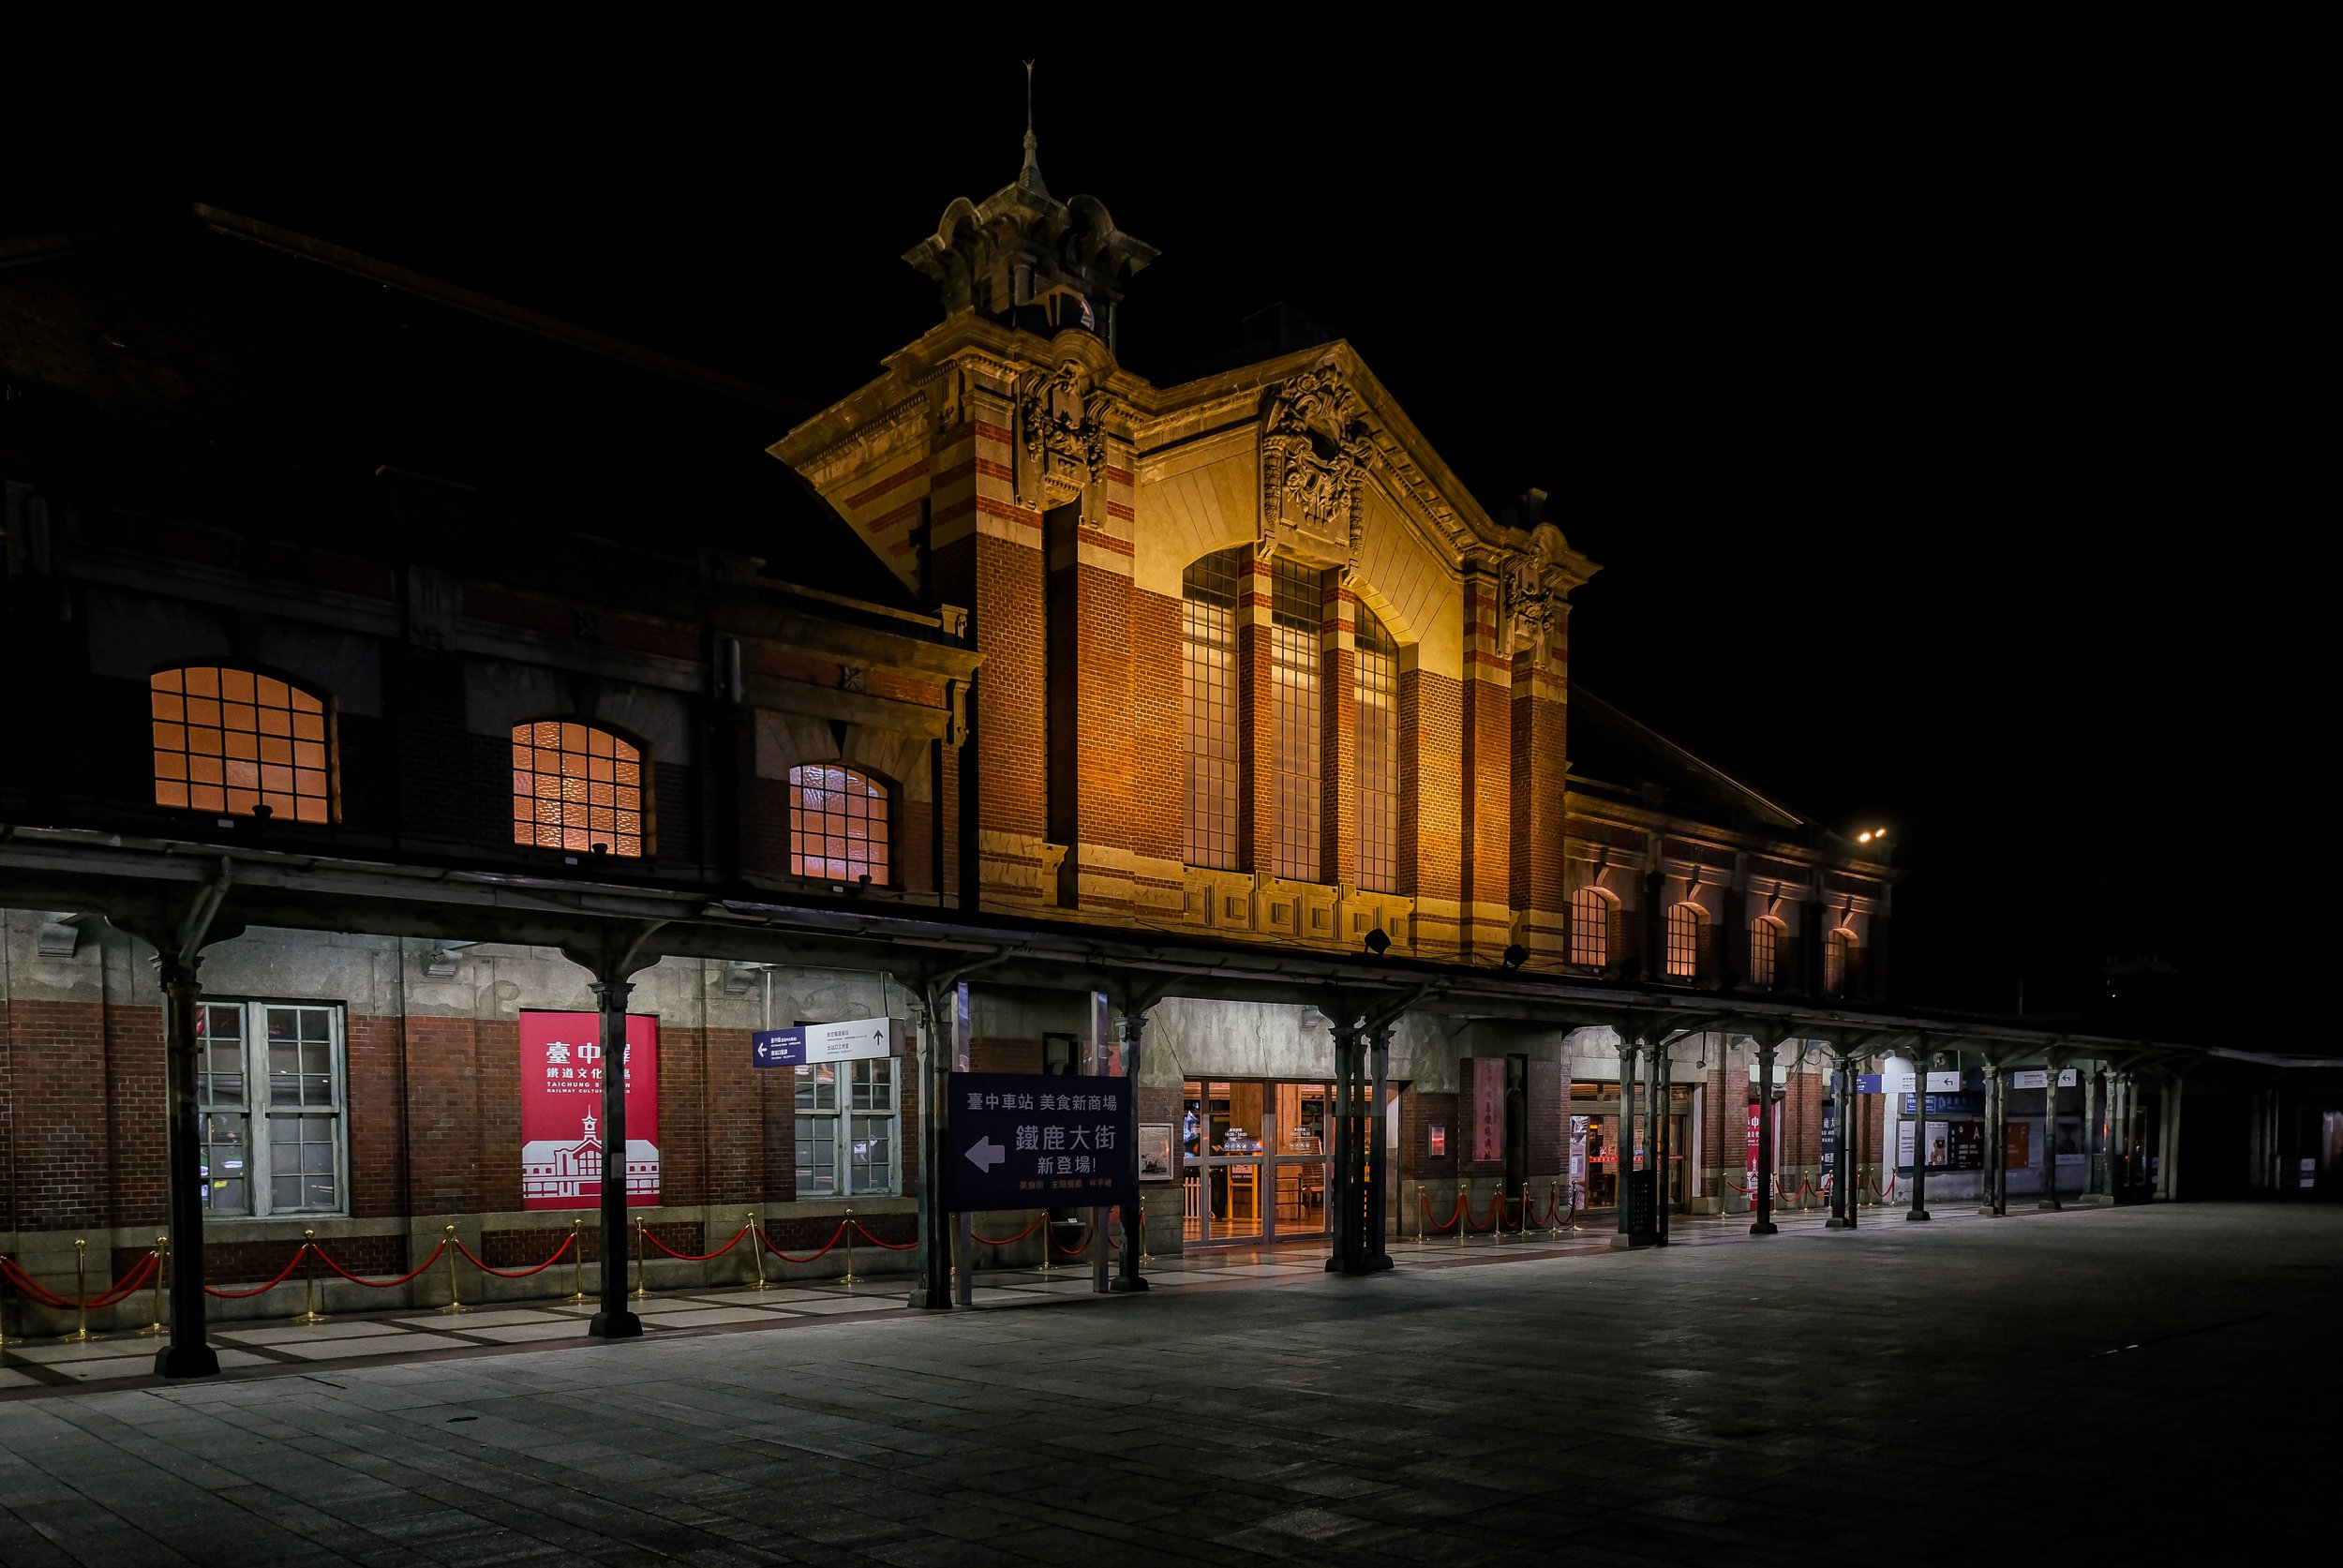
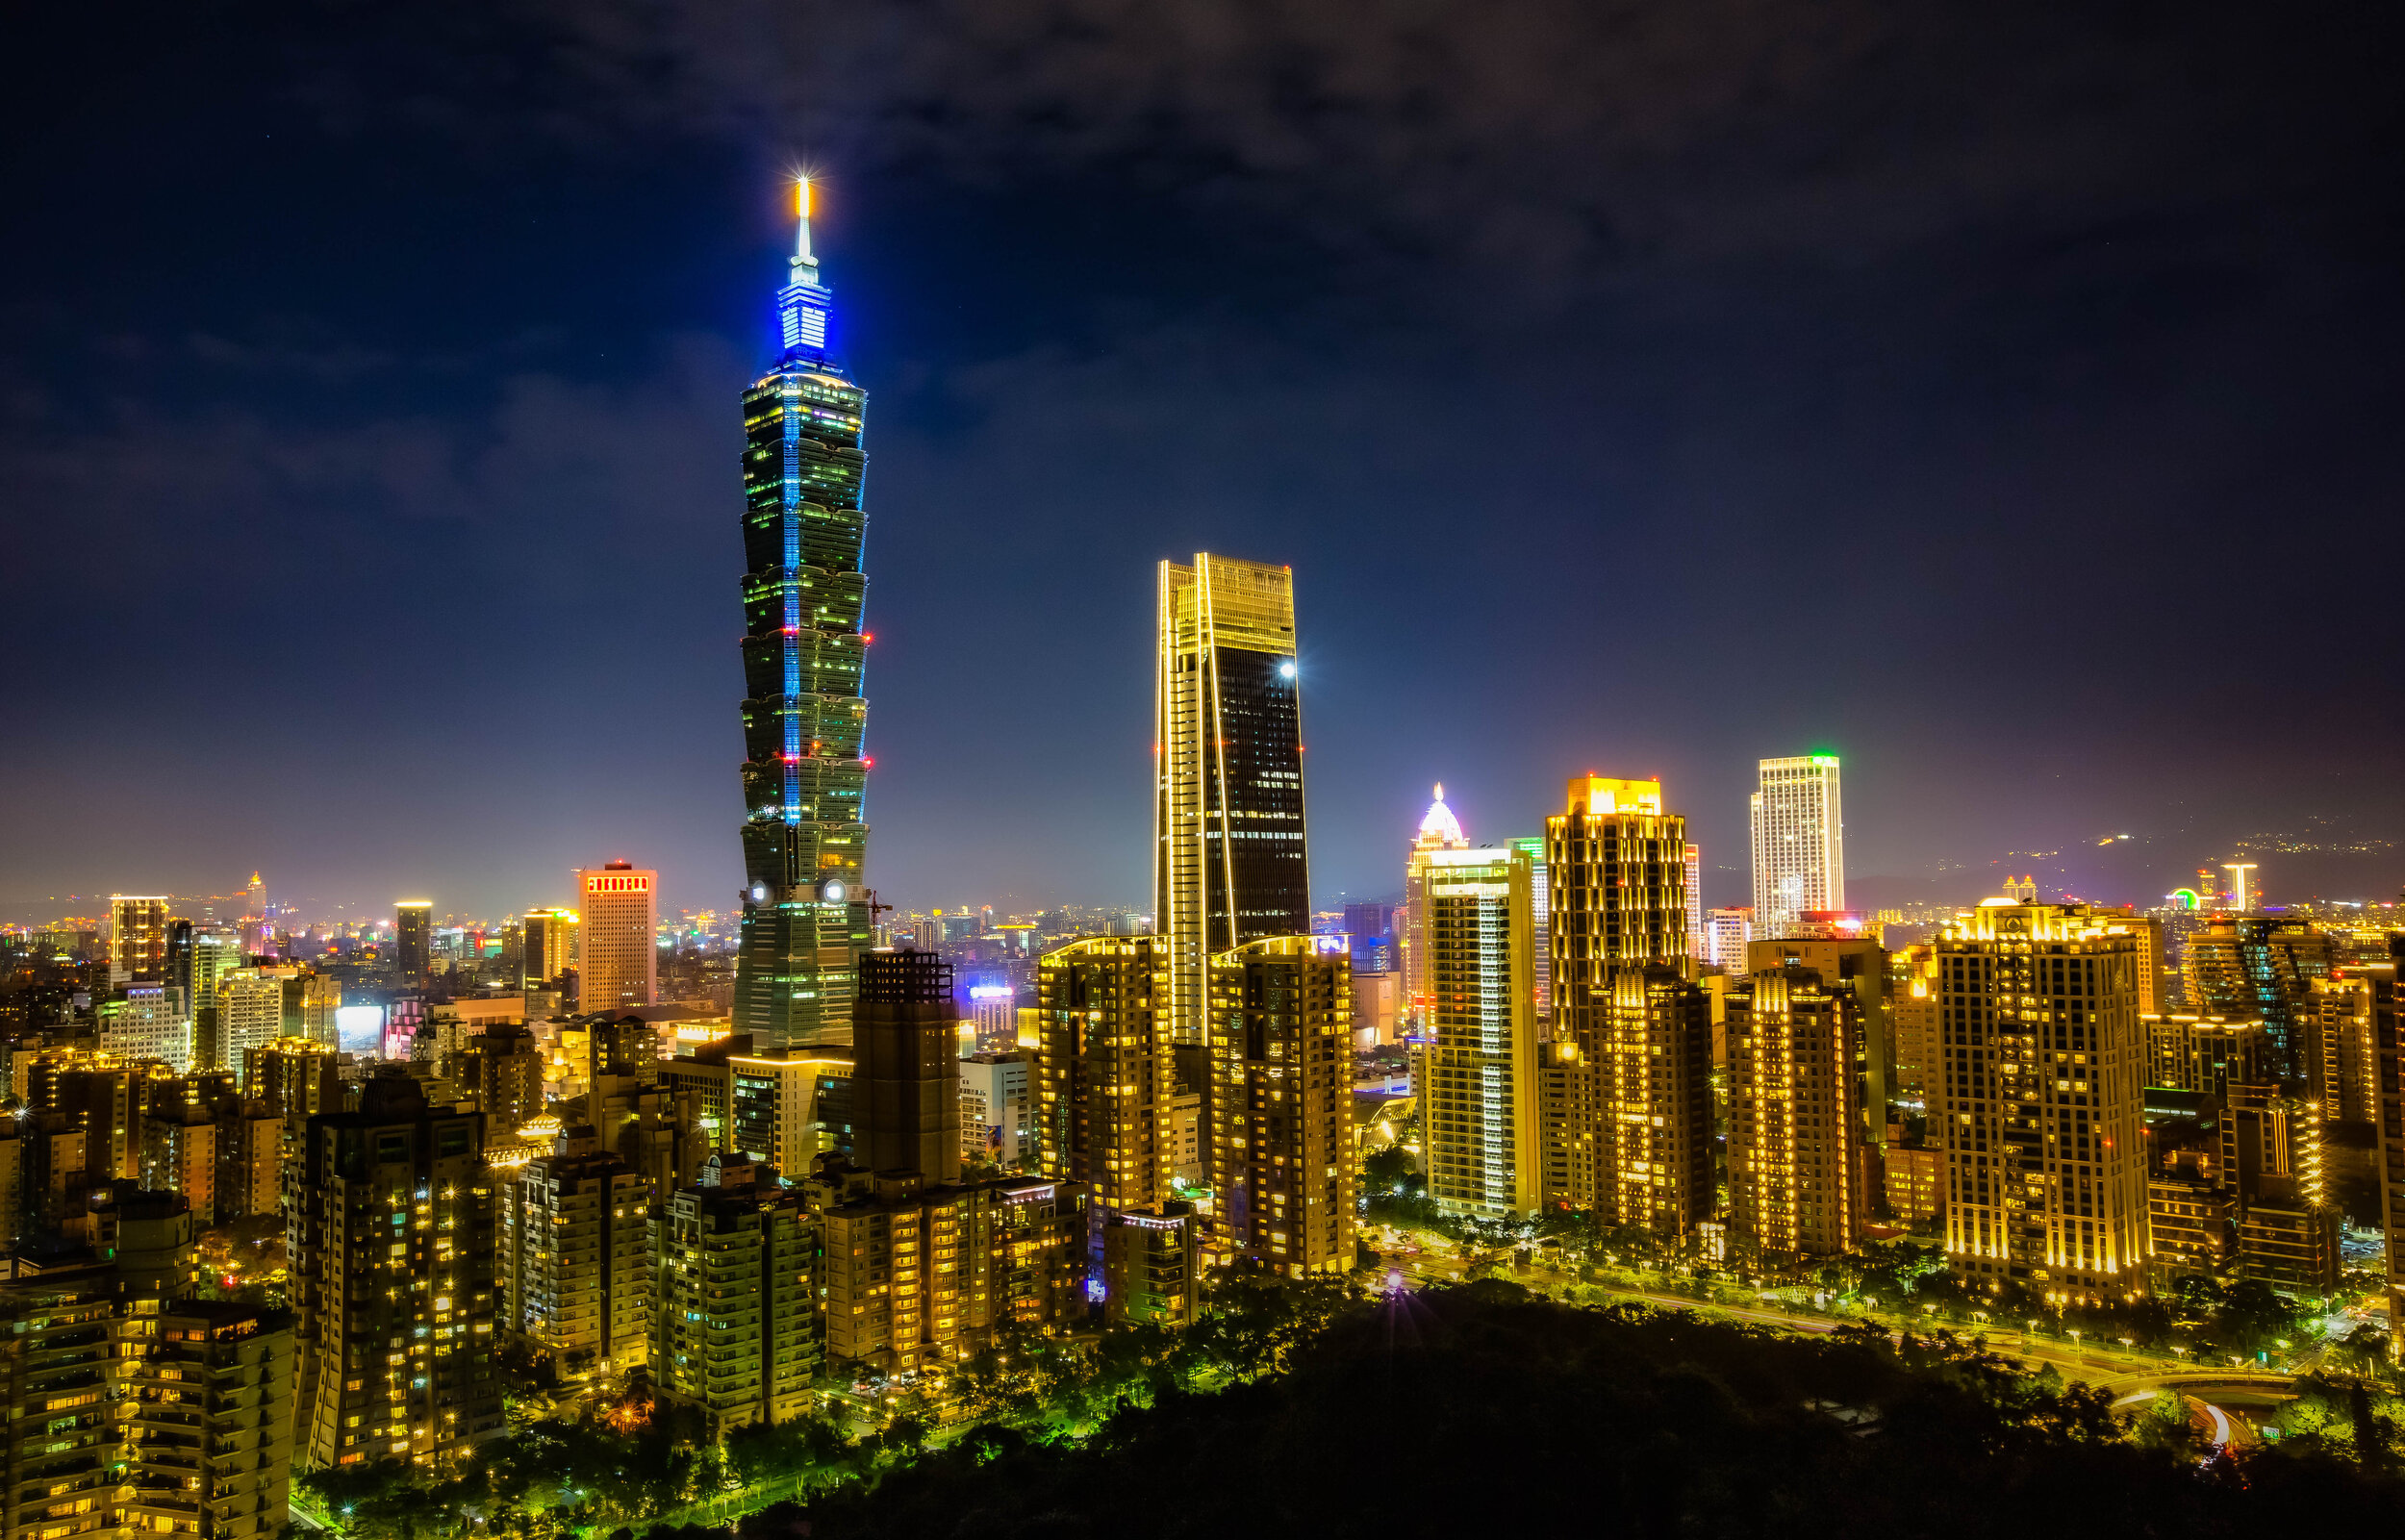
If you’ve read an article in a magazine, newspaper or purchased one of the many travel guides dedicated to Taiwan in the past few years, then it is very likely that you’ve seen an image like the one above. Much like the Eiffel Tower in Paris, Taipei 101 has become an image that defines the Taipei skyline and is a testament to the prosperity of this small nation.
Taipei 101, which was once the highest building in the world, has towered above the rest of the city for almost two decades, but the height of the building is only a small part of what makes images like the one above so popular.
The most important ingredient, if you’re asking me, are the mountains that surround the city (pre-dating the building by a few thousand years) and providing us not only with a perfect escape from the city, but amazing vistas for which we can take beautiful photos of Taiwan’s capital.
Even though Taipei is almost completely surrounded by mountains, the most important (with regard to taking these iconic photos) are those located in the city’s eastern Xinyi District (信義區) on Nangang Mountain (南港山), which is home to Elephant Mountain (象山).
Currently considered to be one of Taipei’s top tourist destinations, Elephant Mountain has become the go-to location for those iconic images of the Taipei cityscape as well as for all those epic travel photos that people love to show off on their social media.
This wasn’t always the case though - for long time residents of Taiwan like myself, most of us remember when Elephant Mountain was just a quiet hill on Nangang Mountain and was just a small portion of the ‘Four Beasts Trail’ (四獸山步道).
Today, if you ask a tourist about ‘Nangang Mountain’ or the ‘Four Beasts’, they’d probably have no idea what you’re talking about. Not only that, but even though you can see Four Beasts-related stuff on the trails, it seems like very few are actually interested or aware of what the name actually refers to.
So for those of you who have no idea what I’m talking about, let me explain: The Four Beasts Trail refers to a collection of mountain peaks located on Nangang Mountain (南港山) which includes Elephant Mountain (象山), Tiger Mountain (虎山), Lion Mountain (獅山), Leopard Mountain (豹山) and extends to include 9-5 Peak (九五峰) and Thumb Mountain (拇指山) as well.
I was first introduced to the ‘Four Beasts’ more than a decade ago by fellow photographer and hiking enthusiast Neil Wade. In the years since then his passion for Taiwan and its mountains has become a full time job and he’s currently one of the owners of Taiwan Adventures - a hiking company that offers English-language tours of Taiwan’s highest peaks.
At that time, getting to the ‘Four Beasts’ was a bit of a pain in the ass - There weren’t any Youbikes, there weren’t any MRT stations nearby and the bus service in the area was limited. If you wanted to get to the trails, you’d have to either take a taxi or walk quite a distance. Likewise, once you arrived, the trails weren’t that great and it was easy to get lost on the vast network of paths on the mountain. Today, the situation is entirely different and the process of hiking the trails and getting to them has become really easy.
Unfortunately, most of the information you’ll find online and in travel guides these days focuses only on Elephant Mountain which means that a lot people come to Taipei and are completely unaware of what treasures await them if they continue hiking. For me, I think this is really unfortunate, because yeah, the photos you’ll get from Elephant Mountain are great, but you can get even nicer photos if you keep hiking up the mountain, which is why I’m writing this guide.
I also feel like in the next year or two the situation is going to revert back to normal with more and more people becoming aware of the Four Beasts and wanting to hike the entire trail. My optimism about this isn’t exactly unwarranted - This is because the Taipei City Government recently completed construction on what has become known as the “Taipei Grand Trail” (臺北大縱走), a 92km long network of hiking trails that surround the city.
Considering that the Four Beasts is probably the most popular part of the whole trail, I feel like if the city government does a good enough job promoting the newly completed network to locals as well as tourists, it should help to attract more tourists to the trails.
So far, all signs are pointing in that direction with the Grand Trail getting a lot of attention and publicity with more than a thousand hikers having already completed the trail. The amount of information available in English though needs a bit more attention though.
With more people coming to Taiwan now than ever before, its important that this information is readily available, especially for avid hikers who are more than willing to hike beyond what the average tourist is willing to do.
If your plan is to visit Taipei and spend an hour hiking Elephant Mountain, thats cool.
You should know though that if you spend a bit more time hiking, you’re going to have a great time and enjoy even more opportunities for photos than the average tourist. This guide is for those people willing to spend a little more time and energy enjoying the beauty Taipei has to offer.
Hiking the Four Beasts
The Four Beasts Hiking Trail is an extremely well-developed network of trails that not only provides hikers with stone paths, but also lights at night, rest stops, pavilions, photography platforms, water fountains and surprisingly clean and well-maintained public restrooms.
Taipei’s vast network of hiking trails are generally very well taken care of, but in the case of the Four Beasts, they went over and above with these trails.
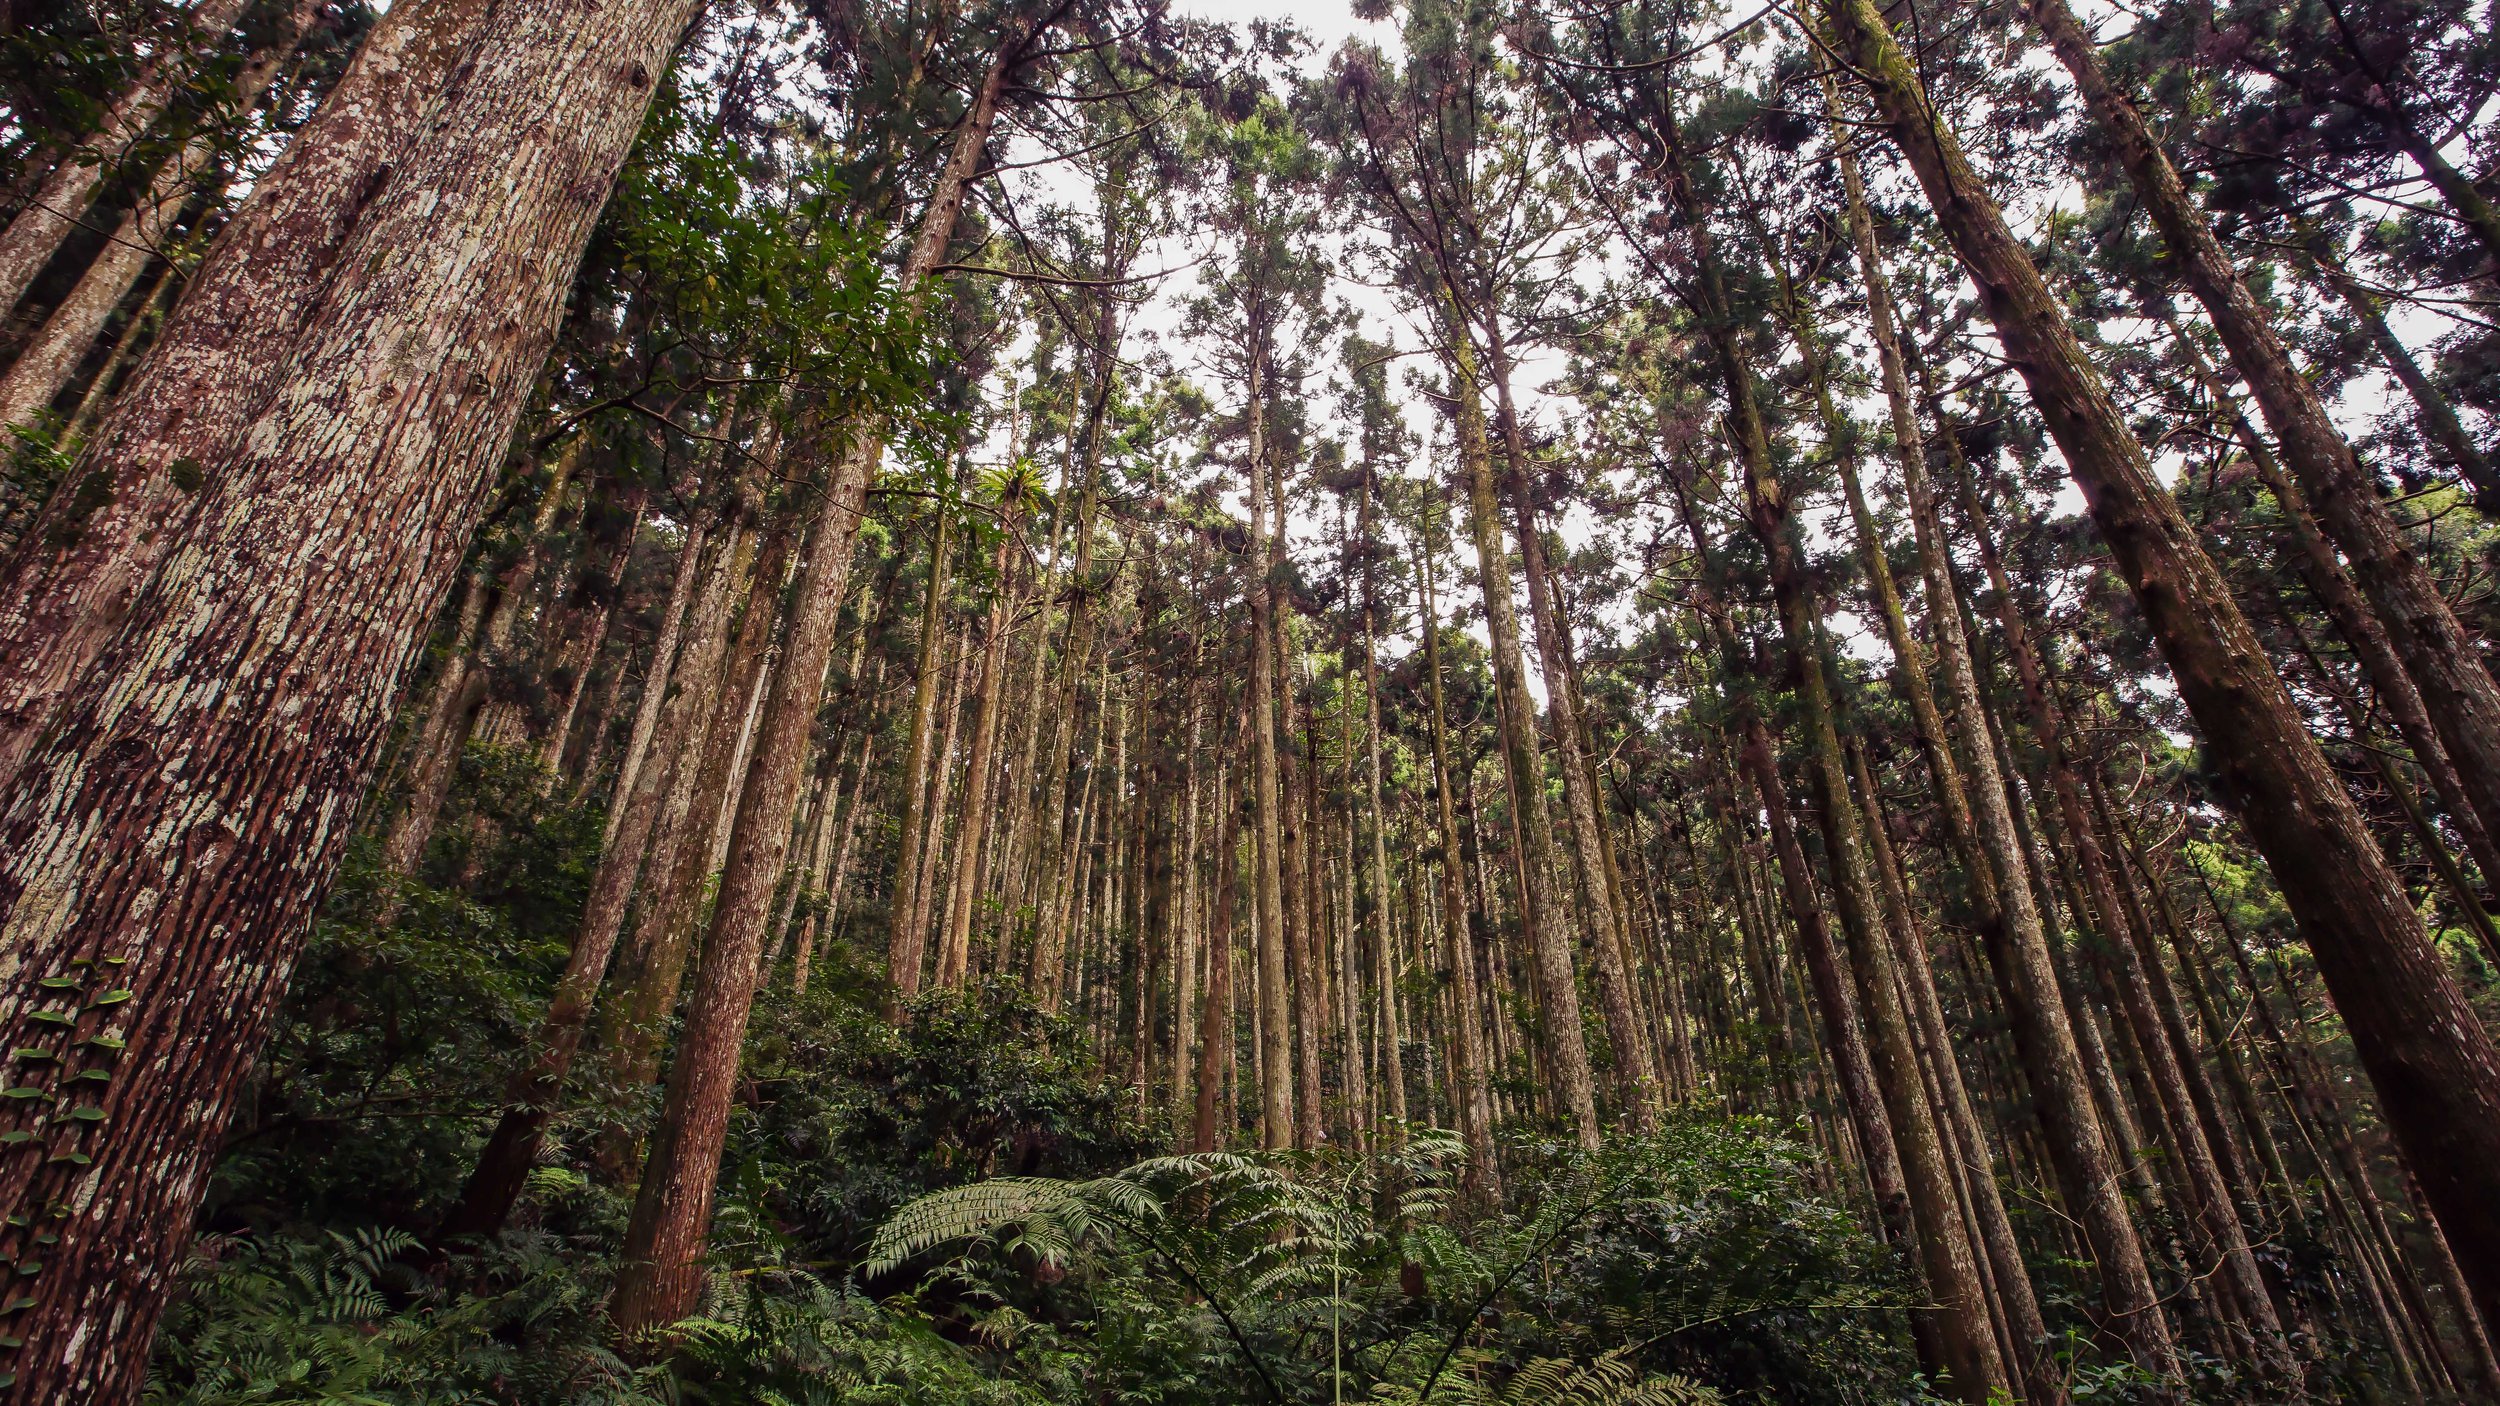
When you hike any (or all) of the Four Beasts, there isn’t much that you’re going to have to worry about - The trails are safe and it is pretty much impossible to get lost. Hiking the trails doesn’t require any past experience or special skills - it is essentially just a walk in the forest where you’re going to be able to enjoy some great opportunities for photos and can also bring grandma, grandpa and your family pets along for the ride.
If you’re wondering what you’ll need to prepare for your hike, my advice is that you simply wear a comfortable pair of shoes and clothing suitable for the season. You’ll also want to bring some water, snacks and a camera for taking photos.
The amount of time it takes to hike the entire trail varies and will more or less depend on how much time you stop to rest or take photos. If I were to hike the entire trail without stopping, its likely that I’d only need about an hour and a half to finish. I’m not sure how anyone could hike these mountains though and not stop on several occasions to enjoy the spectacular scenery.
If it’s your first time, I think its best to plan for at least three hours.
Official estimates from the local government tend to vary, but the trail from one end to the other is anywhere between 3.2km to 3.9km long with a hiking time of 90 minutes to 150 minutes.
Link: Nangang Mountain Hiking Trail Map (Taipei City Government)
If you are in pretty good shape, you should take the time estimates with a grain of salt. It seems like they base all of these estimations on the time it would take a senior citizen to complete the hike, so if it says 30 minutes, you’re probably only going to need half of that.
Something you’ll want to pay attention to before you start hiking is the weather - Even if the day you plan to hike is forecast to be really nice, you’ll also need to take into account the air quality as Taipei can often be quite hazy even on the nicest of days.
So let me take a minute to explain how this guide is going to work.
The first thing I’m going to do is offer an introduction to all of the peaks located on the Four Beasts trail. I aim to keep each of them quite short though, so if you want to know more about each of them, click on the links provided to go to the dedicated articles about them.
The next section is going to provide a map that I’ve put together that you’ll be able to save to your phone to help guide you to each of the trailheads and each of the places of interest you’ll find on the trails. I’m also going to talk about the pros-and-cons of each of the trailheads and offer advice on the best possible routes to help you maximize your enjoyment
Elephant Mountain just so happens to be the most well-known of the Four Beasts, and is also one of the most popular tourist attractions in Taipei.
Taking photos from the peak of the mountain or on one of the various platforms constructed throughout the trail has become somewhat of a rite of passage for anyone who visits Taiwan and it is rare that a day goes by that less than a thousand new photos from the mountain posted to the various social media platforms.
Generally speaking, hiking to the peak of Elephant Mountain really only takes about fifteen gruelling minutes up a steep set of stairs. Most people however stop several times along the trail to take photos, so the amount of time you’ll spend on the mountain really depends on how many photos you take and the amount of traffic on the trail.
Even though Elephant Mountain provides some of the best opportunities for photos on the trail, I wouldn’t be introducing the rest of the mountains on the trail if I didn’t recommend you hike them as well. If you are visiting Taipei and are dedicating the better part of an afternoon to hiking Elephant Mountain, you should really consider extending your hike a bit further to enjoy the rest of the hike - or at least a few other peaks.

Tiger Mountain is one of the most popular sections on the Four Beasts trail thanks to the amazing views of the Taipei cityscape you’re rewarded with on the various platforms located throughout the trail.
Acting as either the starting point (or the final stage) of your Four Beasts hike, Tiger Mountain is one of the easiest sections of the trail to climb and is easily accessible by either bus or MRT. Once you’re at the trailhead, it takes around twenty to thirty minutes to arrive at the peak, but compared to Elephant Mountain, the hike to the peak is much easier with a gradual incline.
Speaking from experience, if I was planning to hike the entire Four Beasts trail, I would prefer to start my hike from the Tiger Mountain trail and then finishing at the Elephant Mountain trailhead which helps to avoid a few of the really steep inclines you’ll come across between Elephant Mountain and Thumb Mountain.
I also prefer to hike this way because not only does it allow you to avoid all of the traffic on the way up to Elephant Mountain, it also allows you to enjoy the sunset at one of the various platforms on Elephant Mountain near the end of your hike where you can take much better photos without the sun blocking your view.


Leopard Mountain is a short distance from the peak of Tiger Mountain and getting there only requires a short detour off of your route to the other peaks on the Four Beasts trail.
If you are coming down from 9-5 Mountain, or if you’ve just finished checking out the peak of Tiger Mountain, the Leopard Mountain peak is simply a short walk up a paved road between the two sections of the trail in an old mining area of the mountain. Near the entrance to the Leopard Mountain path you’ll find a couple of odd temples and some supposedly ‘haunted’ mining tunnels, so its not likely you’ll find a lot of locals hanging out nearby.
Once you pass by the temples, you’ll come across a trail marker that points you in the direction of Leopard Mountain, which is a short path that should only take you about two minutes to complete. When you arrive at the peak you’ll find a beautifully constructed cityscape-viewing platform where you’ll be able to take photos relatively similar to that of Tiger Mountain, but at a slightly different angle.
The platform isn’t usually very busy, so if you want to set up a tripod and hang out for a while to take photos of the sunset, you probably won’t have to fight for a spot.
One thing you’ll want to take into consideration when it comes to taking photos at Leopard Mountain is the time of day you’re planning to arrive there. If you arrive in the morning, you should have no problems with light, but if you arrive in the late afternoon when the sun is starting to set, you’re going to have issues with backlighting with the sun obscuring a lot of the detail in your photos.
The platform is relaxing, and is covered by trees which should give you some relief from the sun, so if you’re on your way up or on your way down, its a nice place to stop for a break before continuing your hike.
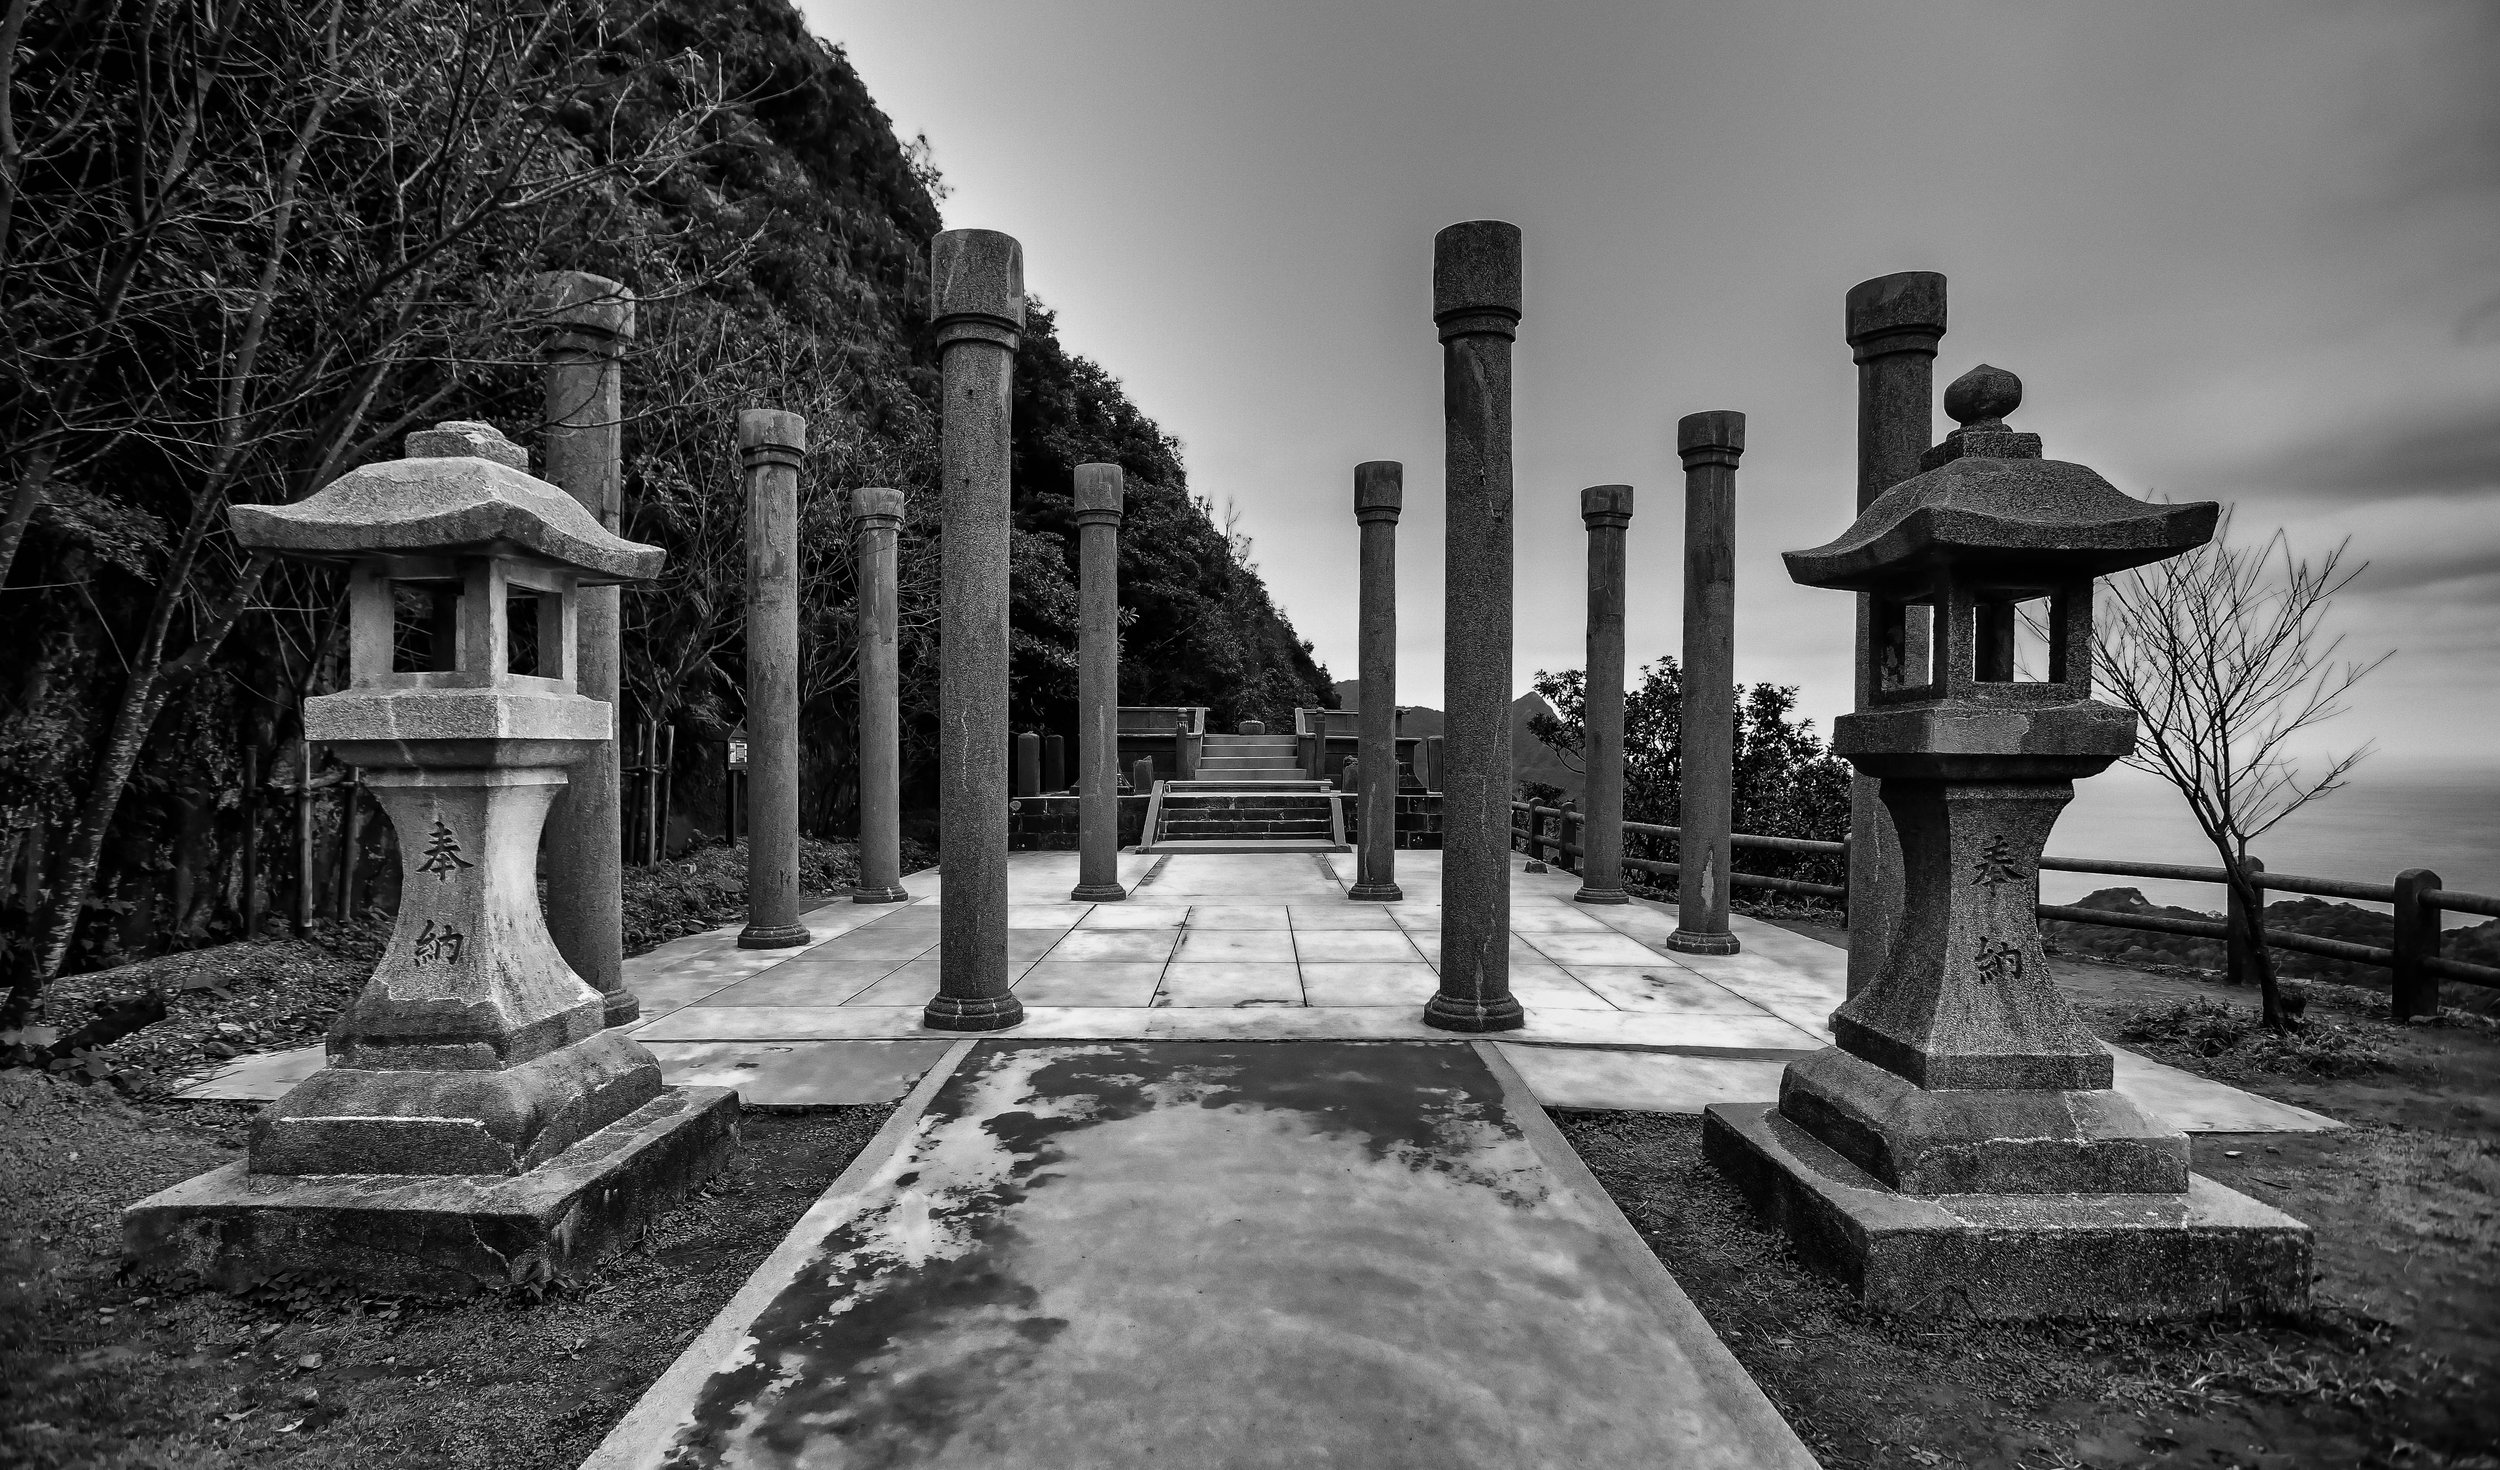
Lion Mountain (獅山)
Lion Mountain is probably the least visited section of the Four Beasts Hiking Trail - and for good reason - There’s not really much to see when you arrive.
The peak of the mountain is a short distance from Leopard Mountain and is situated within a forest where all you’ll find is a stone marker on the ground surrounded by trees.
Unlike all of the other destinations on the trail, where you’ll be able to take some great photos of the cityscape, Lion Mountain is completely devoid of scenery and doesn’t have a well-developed trail like the other parts of the trail.
Still, people who are wanting to complete the entire Four Beasts Hike should spend the five-to- ten minutes it takes from the peak of Leopard Mountain to stop by for a photo.
Be sure to be safe on the trail though - the last time I visited I slipped on a wet rock and landed hard on my behind, which hurt for a few days.
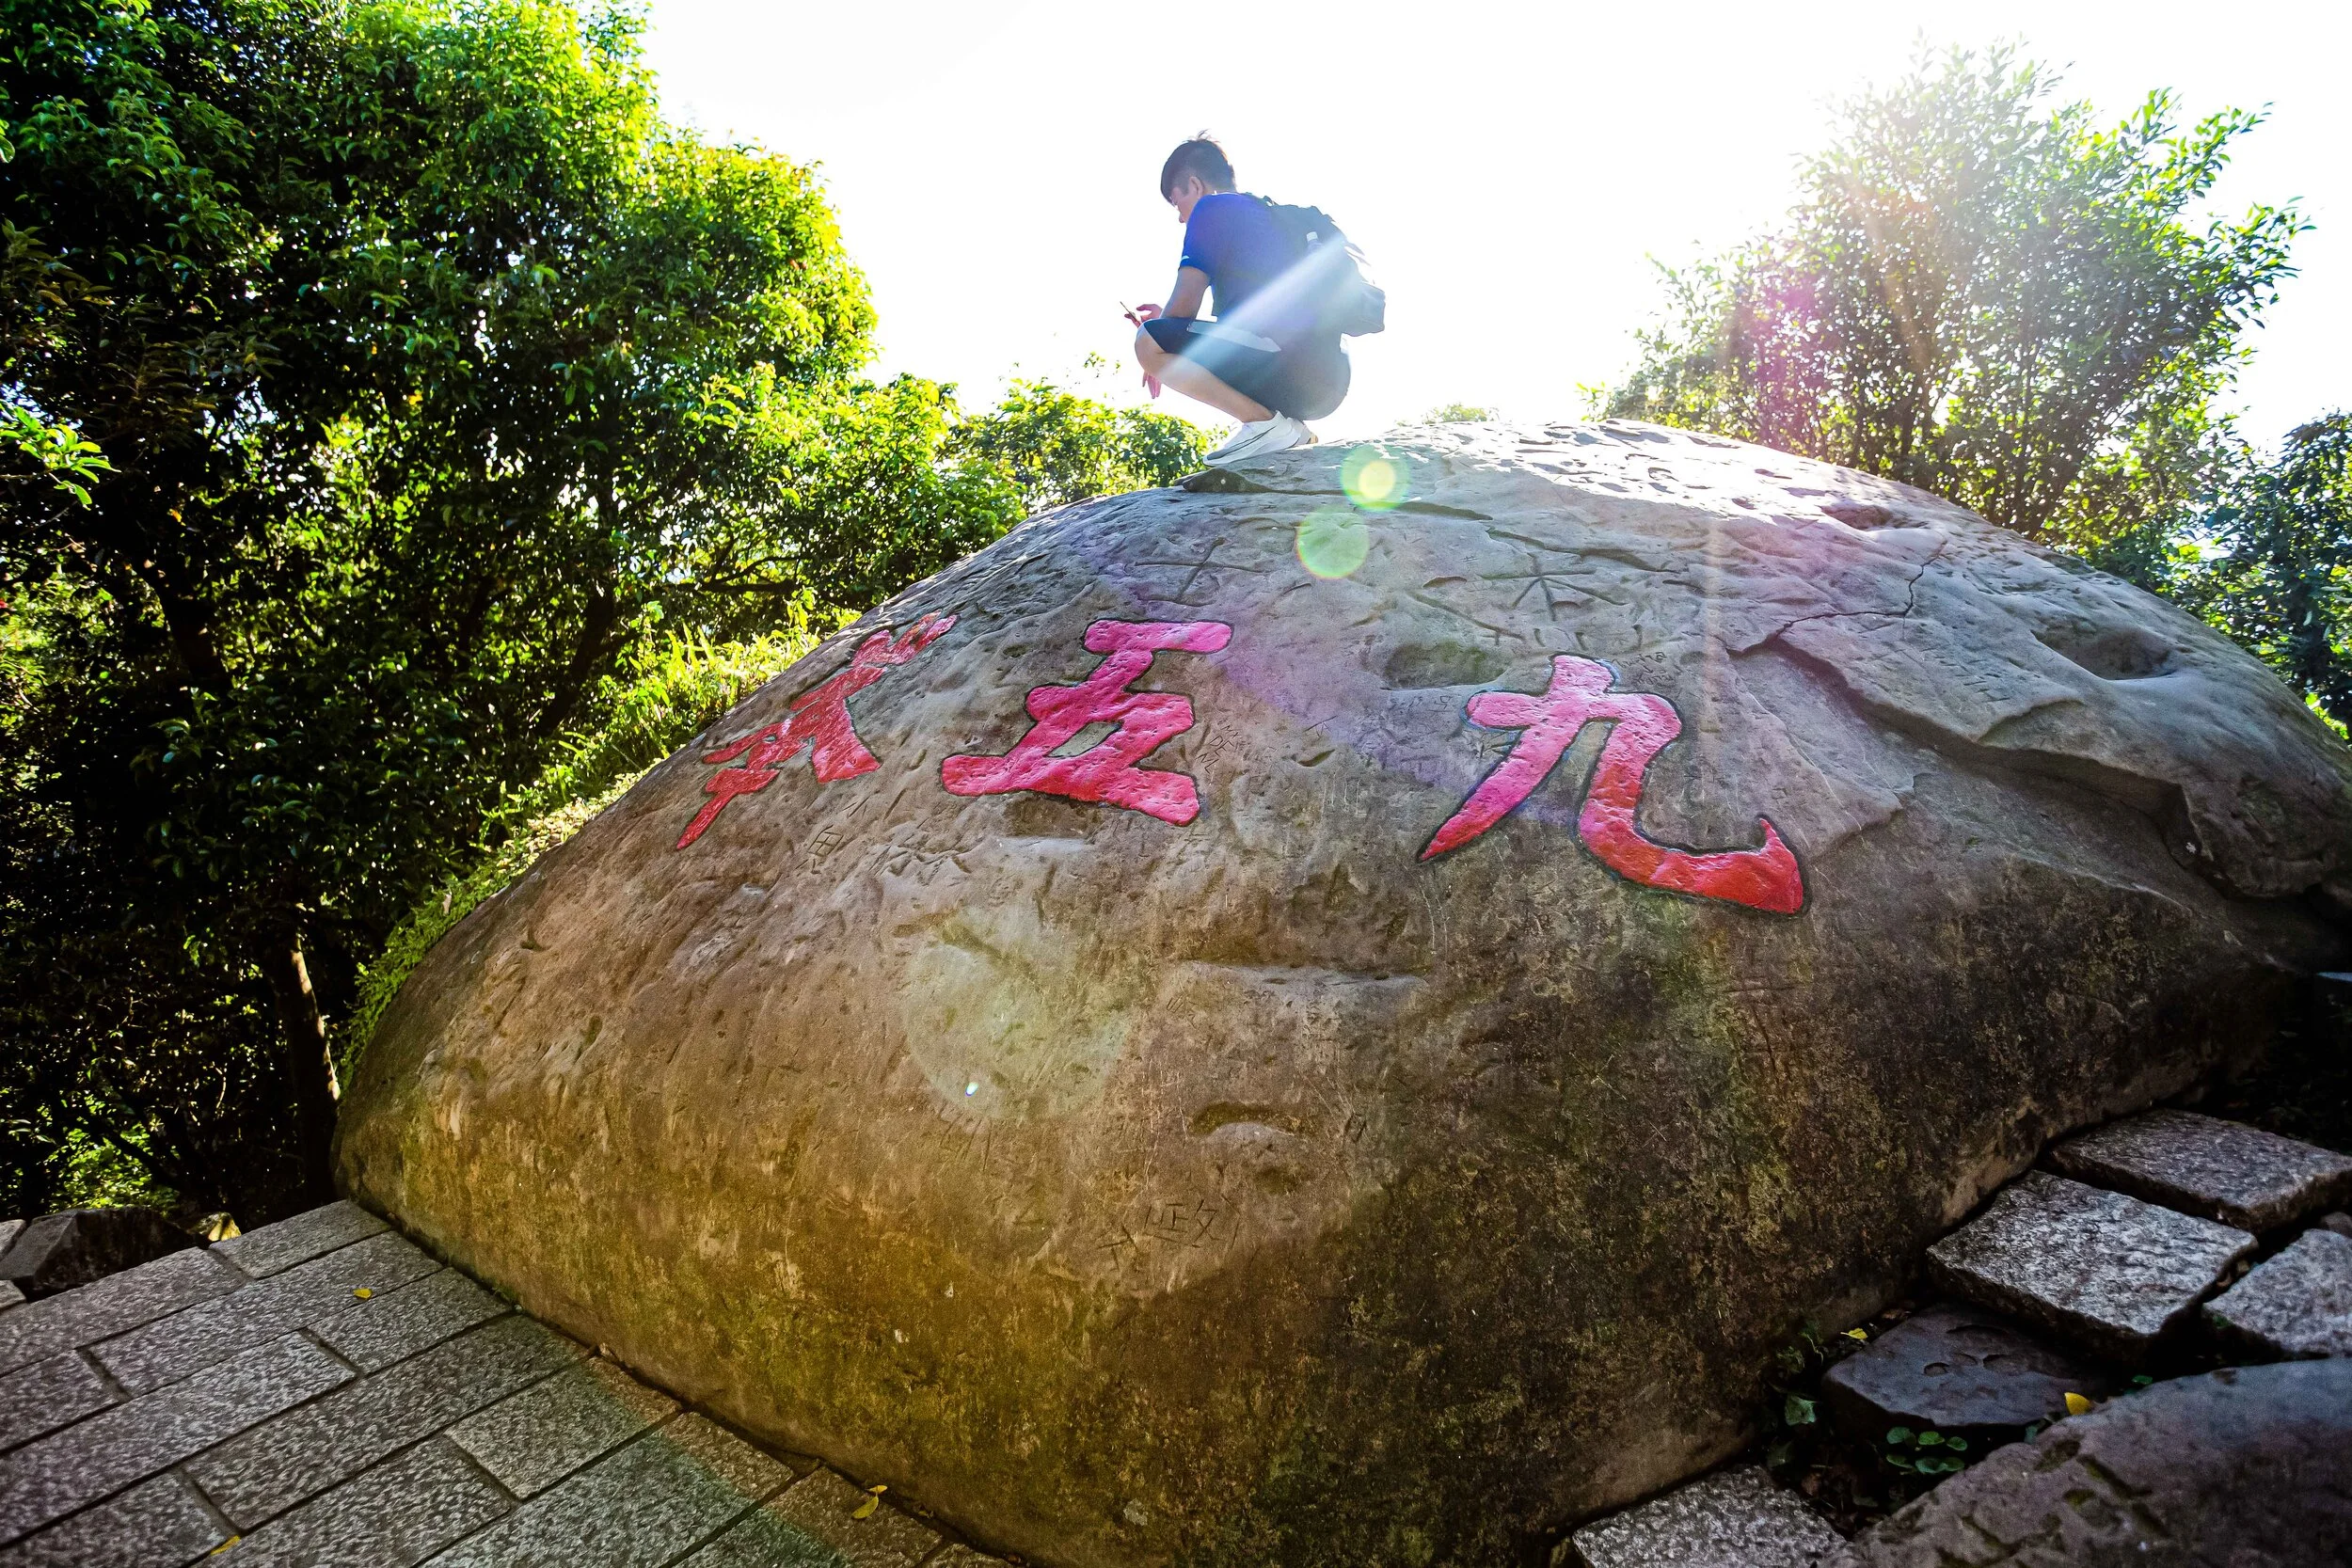
9-5 Peak (九五峰)
9-5 Peak is the highest point on the Nangang Mountain range and one of the most important destinations on the Four Beasts Trail. Once one of Taipei’s hardest to reach destinations, attempting to climb it wasn’t for the faint of heart.
Thanks to the hard work and dedication of the Taipei City Government though, people of all ages and physical ability are able to reach the peak, thanks to the network of well-developed trails that have been constructed throughout the mountain.
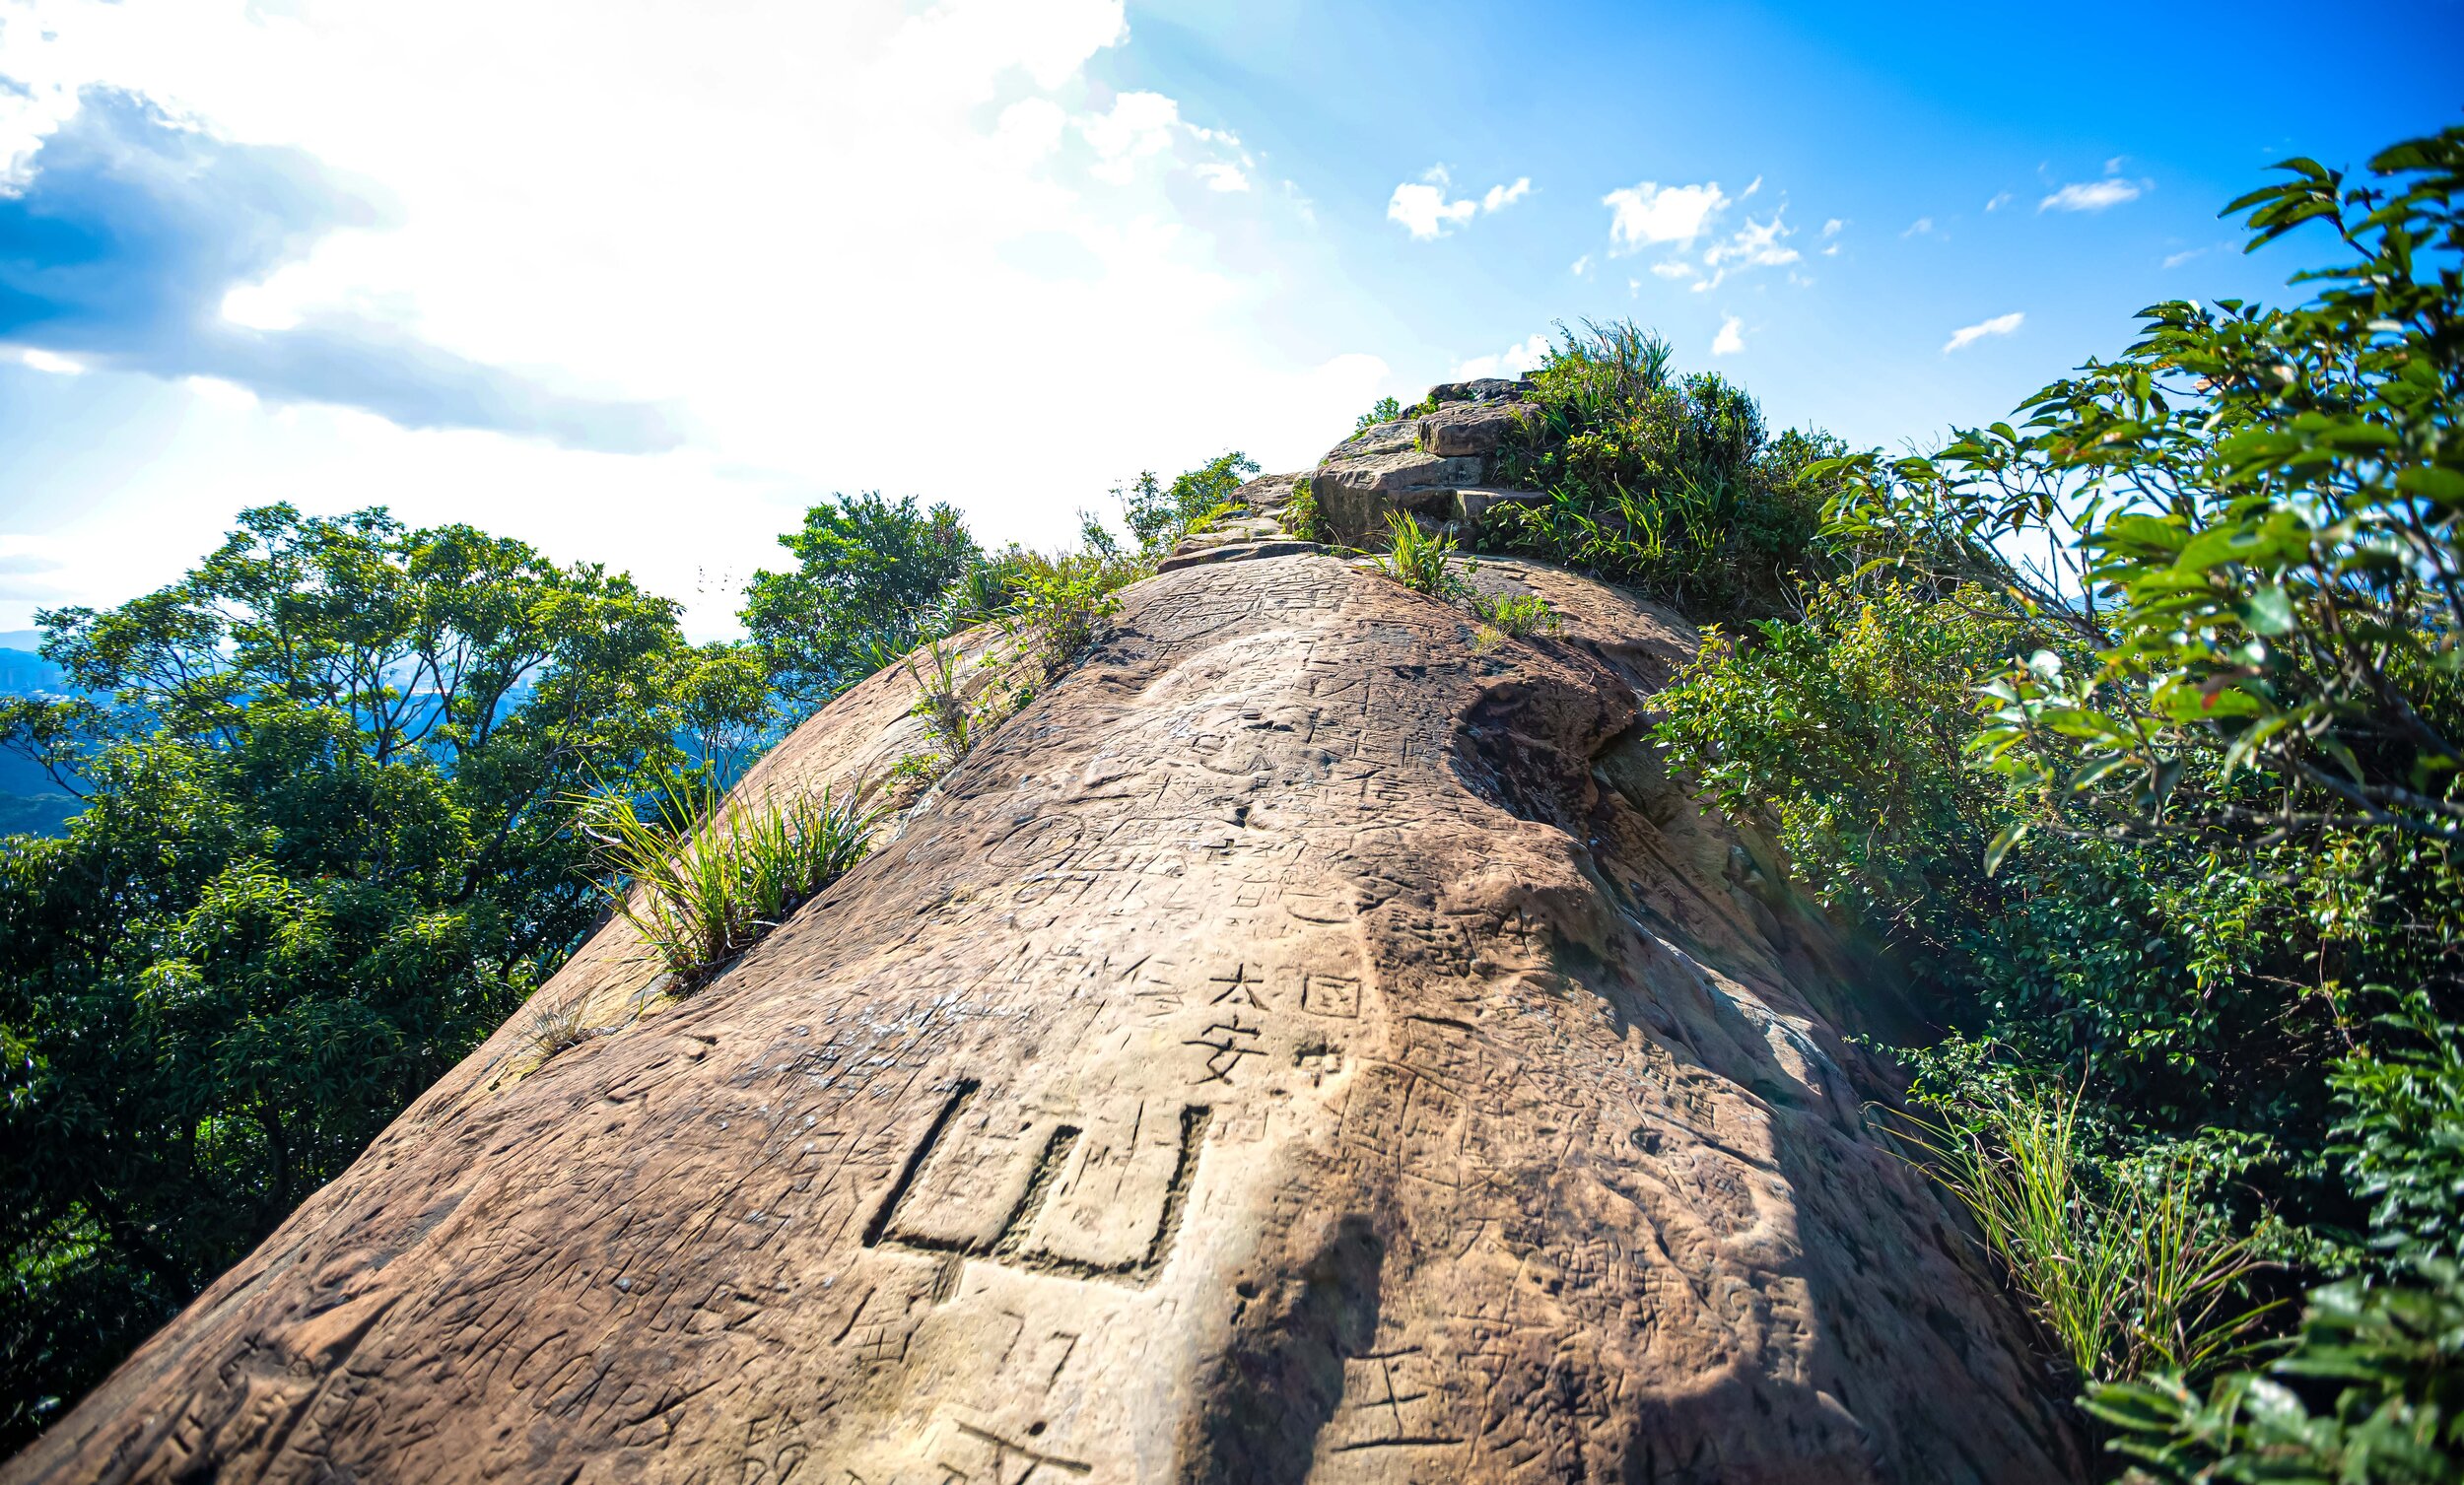
When you arrive at the peak, you’ll notice a giant rock with the Chinese words “九五峰” etched onto the side. The name of the peak might seem weird but it is dedicated to a 95 year old man who climbed the peak several decades ago when the trail was much more difficult than it is today.
Unfortunately the once amazing view from atop the giant rock on 9-5 Peak is completely obscured by trees and brush. Never fear though, the nearby 9-5 Peak Lookout is probably one of the best views on the whole mountain range and there is lots of space for you and your camera to take beautiful photos of the city!
Once you’ve arrived at 9-5 Mountain, the trail splits and you have the option of heading toward Thumb Mountain, Tiger Mountain or down the mountain to Nangang. Depending on what stage of your journey you’re on, its still a good idea to relax a bit and enjoy the scenery on this peak.

Thumb Mountain happens to be one of my favourite spots on the Four Beasts Trail. I’ve been to the top of the rocky crag on more than a handful of occasions and not once have I ever had to share it with anyone else. While I wouldn’t particularly mind sharing it with others, there is a special feeling when you’re alone on the peak enjoying amazing views of the city with some rare peace and quiet.
Considered to be one of Taipei’s best kept secrets, Thumb Mountain provides wide-open views of the Taipei cityscape, which (depending on the weather) can be some of the best views you’re going to get on the Four Beasts Trail.
The thing is though, the trail to the peak isn’t very well-marked and unfortunately it seems like most people pass by it without even realizing.
If you’re like me and you don’t want to miss out on visiting the peak of Thumb Mountain while hiking the Four Beasts trail, click on the link above for detailed directions about how to get to get there.

Getting There
Hiking the Four Beasts has never been easier than it is today - With such a well-developed network of trails and more than a handful of trailheads, hikers are spoiled when it comes to planning the route that they will take. With so many options though, it would be understandable if you felt a little overwhelmed when planning your hike.
Don’t worry, thats what this blog is here for - In addition to the map above (which you are more than welcome to save to your google maps), I’m going to do my best to explain some of the routes, how to get to them and some of their pros and cons so that you can make more informed decisions on how to successfully hike the trail.
Route 1 - Elephant Mountain - Tiger Mountain
It is safe to say that the most obvious route for a lot of people would be to start their Four Beasts hike at the Elephant Mountain trailhead and later finishing at Tiger Mountain.
This may seem like it makes a lot of sense considering the trailhead is easily accessible, takes you from one MRT station to another and allows you to first enjoy the beauty of Elephant Mountain before moving on to some of the other mountains.
Let me caution you though, if you decide to hike this route, you’re going to have to work a lot harder than you would with some of the other options. This is because when you start hiking Elephant Mountain, rather than walking up a gradual incline, you will be walking straight up a steep set of stairs that only eases up once you’ve reached Thumb Mountain.
If you’ve come looking for a workout, then this is the route you’ll want to take. If however you’d prefer something a bit easier on the knees, you may want to consider one of the other options suggested below.
Hiking this route, you’ll reach each mountain in this order: Elephant Mountain -> Thumb Mountain -> Nangang Mountain -> 9-5 Peak -> Leopard Mountain - > Tiger Mountain
The best way to get to the Elephant Mountain trailhead is to take the MRT’s Red Line (紅線) to Xiangshan MRT Station (象山捷運站) where you’ll leave from Exit 2. From there you can simply walk along the sidewalk parallel to Xiangshan Park (象山公園) before turning left to walk up the hill where you’ll find the trailhead.
Route 2 - Tiger Mountain - Elephant Mountain
As far as I’m concerned, if you want to hike the Four Beasts trail, the best place to start is on the Tiger Mountain trail where you’ll be able to easily make your way around Nangang Mountain before ending your hike at Elephant Mountain.
The reason why I prefer this route is because it allows you to reach each of the peaks without much backtracking and is considerably easier with a gradual climb rather than a steep hike straight up the mountain. It also allows you to complete your hike at Elephant Mountain, where if you time it correctly, you’ll be able to enjoy the beautiful sunset.
The most difficult thing about starting your Four Beasts trek at Tiger Mountain is that there are a number of trailheads available for you to choose from, so you’ll have to take a few minutes to chose the one that best suits your itinerary.
Songshan Road Trailheads (松山路登山口)
Songshan Road, which runs parallel to Taipei’s ‘Songshan High School of Commerce and Home Economics’ (松山家商) has two separate trailheads to the Tiger Mountain trail. The first trailhead is situated pretty much at the start of the road while the other is a short distance down the road.
The only difference between the two is that at the closest entrance, you’re going to gradually walk up hill over a long distance while the one further down the road eliminates much of that distance and is instead a short, yet steep walk up a set of stairs.
Both trailheads will get you to exactly the same place, so which one you choose depends on how you prefer to start your walk up the hill.
The trailheads are about a ten minute walk from Exit 3 of Yongchun Station (永春捷運站) where you’ll walk straight down Songshan Road until you reach Fude Street (福德街) and then you’ll make a left turn passing by the high school where you’ll once again meet Songshan Road and the trailheads.
If you are taking a bus, you can take bus #46, #88, #207, #257 or #286 to the Songyou New Village Stop (松有新村站) where the trailheads are only a minute or two away.
Fengtian Temple Trailhead (奉天宮後登山口)
Another popular option is to start your hike from the beautiful Songshan Fengtian Temple (奉天宮) where you’ll find a trailhead to the rear of the temple. This route takes you up the opposite side of Tiger Mountain than the other trailheads but more or less takes the same amount of time to arrive at the peak.
To get there from the MRT station, you’ll want to take Exit #2 and from there walk straight until you reach Dadao Road (大道路) where you’ll turn left and walk straight until you reach Fude Street (福德街). Upon arrival you’ll simply cross the road where you’ll find the entrance to the temple.
Once you’ve arrived at the temple, I recommend you take a look as its one of the prettiest temples in Taipei, but if you’re in a hurry to get started, the trailhead is to the rear of the temple near the parking lot.
If you are taking a bus, you can take bus #46, #88, #207, #257 or #286 to the Fengtian Temple Stop (奉天宮站) where you’ll just have to follow the directions up the hill to the temple. The temple is huge, so you won’t have to worry about missing it. It towers over the main road where you’ll get off the bus.
Songshan Cihui Temple Trailhead (松山慈惠堂後登山口)
Another one of your options is to take the MRT to Houshanpi Station (後山埤捷運站) and then making your way to the beautiful Songshan Cihui Temple (松山慈惠宮) where you’ll find the trailhead at the rear of the building.
To get there from the MRT station, you’ll want to take Exit #2 and from there make a right turn on Zhongpo South Road (中坡南路) which you’ll follow until you reach Fude Street (福德街) where you’ll turn left and continue walking until you reach Fude Street, Lane 251 (福德街251巷) which will take you up the hill to the temple.
If you want to save time walking, you could also take one of the various buses that travel through the area. If you take the bus, make sure to get off at the Fude Elementary School Stop (福德國小站) stop and from there walk up the hill to the temple.
Buses that serve the Fengtian Temple Stop: #46, #88, #207, #257, #286 and BL10.
I’m not personally a big fan of this trailhead due to the fact that it is more difficult to reach and the trail is much longer than if you would have started at the Songshan Road trailheads.
If you are already in that area though, it is a pretty good place to start your hike.
Hiking from any of these trailheads, you’ll reach each mountain in this order: Tiger Mountain -> Leopard Mountain -> 9-5 Peak -> Nangang Mountain -> Thumb Mountain -> Elephant Mountain
The great thing about starting your hike from Tiger Mountain is that it allows you to start out at a leisurely pace and once you’ve reached the peak of Tiger Mountain, you’re only a short distance from Leopard Mountain and Lion Mountain with the trailhead to 9-5 Peak close by. Once you’ve hiked to 9-5 Mountain, you’ll start walking down to Thumb Mountain and then finishing at Elephant Mountain where you’ll descend back to ground level with the MRT station nearby.
Route 3 - Beixing Temple (北興宮) - 9-5 Peak
If you’ve already hiked Tiger Mountain and aren’t really interested in including it on your Four Beasts trip, you also have the option of starting your hike at Songshan’s Beixing Temple (北興宮) where you’re able to take a bus that will drop you off near the trailhead.
From there all you have to do is follow the signs on the trail that will take you directly to 9-5 Peak. I would caution you though that this trail doesn’t really take the most direct route, so you’d probably save some time if you just started at Tiger Mountain.
There are only two buses that serve the Chengfu Temple Stop (城府宮站): BL22 and #88. The stop however is the terminal station for both routes, so when you get to the final stop all you have to do is get off and start hiking.
Route 4 - China University of Science and Technology - Elephant Mountain
This hike starts from the opposite side of the mountain as all the other trailheads and is probably the trail that is much less travelled. You’ll start your hike at the China University of Science and Technology (中華科技大學) in Nangang and walk up the backside of Nangang Mountain where you’ll first arrive at 9-5 Peak and then from there moving on to the other mountains.
The thing about this trail is not only that it is long but if you’re wanting to hike all of the mountains, you’ll have to eventually do some backtracking between Elephant Mountain and Tiger Mountain which means you’re going to need a lot more time.
Still, if you are staying in Nangang District, or you’re a student at the university, this is a pretty good option if you don’t want to take the MRT or a bus into town to the other trailheads.
Hiking this route, you’ll reach each mountain in this order: 9-5 Peak -> Nangang Mountain -> Thumb Mountain - > Elephant Mountain -> Leopard Mountain -> Tiger Mountain
These days, it seems like the majority of tourists hiking the Four Beasts Trail are sadly only interested in hiking the Elephant Mountain portion. I’m assuming that this is because they’re only coming to get their epic travel photo and are otherwise uninterested in investing the time and energy necessary to hike the rest of the trail. It could also be because they’re completely unaware that the trail extends much further beyond Elephant Mountain due to a lack of English-language information about the trails.
As it stands, there is a very clear divide when it comes to the people you are going to meet on the trail - The Elephant Mountain portion is always full of international tourists while rest of the trail and the other peaks are mostly full of local hikers. I feel like this points to the fact that most tourists are unaware of the beauty (and better photo locations) that they’ll find if they keep hiking the trail to some of the other peaks.
The Four Beasts Hiking Trail shouldn’t be a secret - It should be enjoyed by everyone.
I hope that this guide helps you with your trip and that you ultimately decide to go ahead and hike the whole trail, I promise that you’re not going to be disappointed if you do. Be safe and have fun